
Developing and deploying an Android app with Expo’s EAS (Expo Application Services) has simplified many aspects of mobile app development. Here’s a step-by-step guide to building an Android app bundle using eas build --local, signing it with a custom keystore, and deploying it to Google Play.
Step 1: Open Your App in Android Studio
- Launch Android Studio.
- Open your Expo project’s Android directory (e.g.,
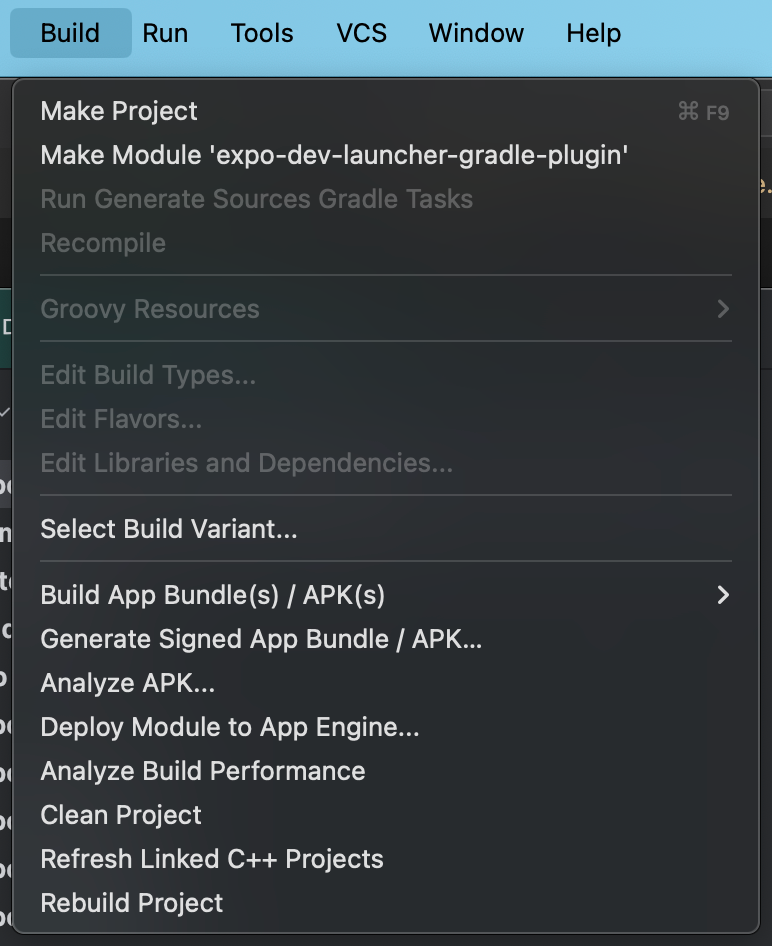
my-todo/android). - Go to Build > Generate Signed Bundle / APK…
- If this option is grayed out, first click Build Bundle(s) / APK(s) to trigger an initial build. Then the option will become available.
Step 2: Generate a Keystore
- In the Generate Signed Bundle / APK dialog, select Android App Bundle and click Next.
- Under Key store path, choose Create new….
- Complete all required fields for the new keystore form (including passwords and alias).
- Click OK to save the keystore, then Next to proceed.
- Note the location of the generated keystore file.
Step 3: Configure Google Play Console for App Signing
- Log into the Google Play Console and navigate to your app.
- Under Setup > App Integrity, click Choose Signing Key.
- Choose Use a different key (Do not select Use Google-generated key)
- Choose Export and upload a key from Java keystore.
- Download the encryption public key and PEPK tool provided by Google.


Step 4: Export the Keystore with the PEPK Tool
Run the following command to generate a .zip file that Google Play Console will use to handle your app’s signing key. Replace foo.keystore, foo, and /path/to/encryption_public_key.pem with your specific file paths and keystore details.
java -jar pepk.jar --keystore=foo.keystore --alias=foo --output=output.zip --include-cert --rsa-aes-encryption --encryption-key-path=/path/to/encryption_public_key.pem- When prompted, enter the passwords you set up for the keystore and alias.
- After successfully entering the passwords, you will get an
output.zipfile.
Upload this zip file to Google Play Console to finish configuring app signing.
Step 5: Build Your App Locally with EAS
Now that your keystore is configured, you’re ready to use eas build for a locally signed Android App Bundle (AAB).
- Run the following command in your project root:
eas build -p android --profile production --local- When prompted to generate a new Android keystore, select No. Instead, provide the path to the keystore you created in Android Studio.
- Enter your keystore password, key alias, and key password.
If everything is correct, Expo will create a build file that’s signed with the custom keystore you generated.
Step 6: Verify Your Android Keystore on Expo
You can view the saved Android keystore on your Expo account:
- Go to expo.dev.
- Navigate to your project, then select Configuration > Credentials > Android keystore.
Step 7: Submit Your App to Google Play Console
To deploy your app, you can use eas submit. For the initial release, manually upload the AAB to Google Play Console. For future updates, you can streamline the process with:
eas submit -p androidWith this setup, you now have full control over the signing process using Expo’s EAS and your custom keystore, ensuring smooth updates and consistent builds. Happy deploying!